Whether you’re a homeowner looking to install pine flooring yourself or a design enthusiast seeking to learn more about this popular flooring option, this comprehensive guide will equip you with the knowledge you need to make informed decisions. So, let’s dive in and discover the world of pine flooring together!
Understanding the Basics of Pine Flooring
Pine flooring is a popular choice for homeowners due to its warm and rustic appeal. Before diving into the different types and installation process, it’s important to understand the basics of pine flooring. This section will cover the key aspects you need to know.
What is Pine Flooring?
Pine flooring refers to the use of pine wood as the primary material for flooring. Pine is a softwood that comes from various species of the Pinus genus. It is known for its light color, straight grain patterns, and natural knots, which add character to the flooring.
Advantages of Pine Flooring
- Affordability: Pine flooring is generally more affordable compared to hardwood options, making it a budget-friendly choice for homeowners.
- Versatility: Pine flooring can complement a wide range of interior styles, from traditional to contemporary, allowing for versatile design options.
- Ease of Installation: Pine flooring is relatively easy to install, whether you choose to do it yourself or hire a professional.
- Natural Beauty: The natural characteristics of pine, including its knots and grain patterns, give it a unique and visually appealing charm.
Durability and Maintenance
While pine is considered a softwood, it can still be a durable flooring option when properly cared for. However, it’s important to note that pine flooring may be more susceptible to scratches and dents compared to harder woods. Regular maintenance is essential to ensure its longevity.
Common Applications
Pine flooring is suitable for various areas within a home. Some common applications include:
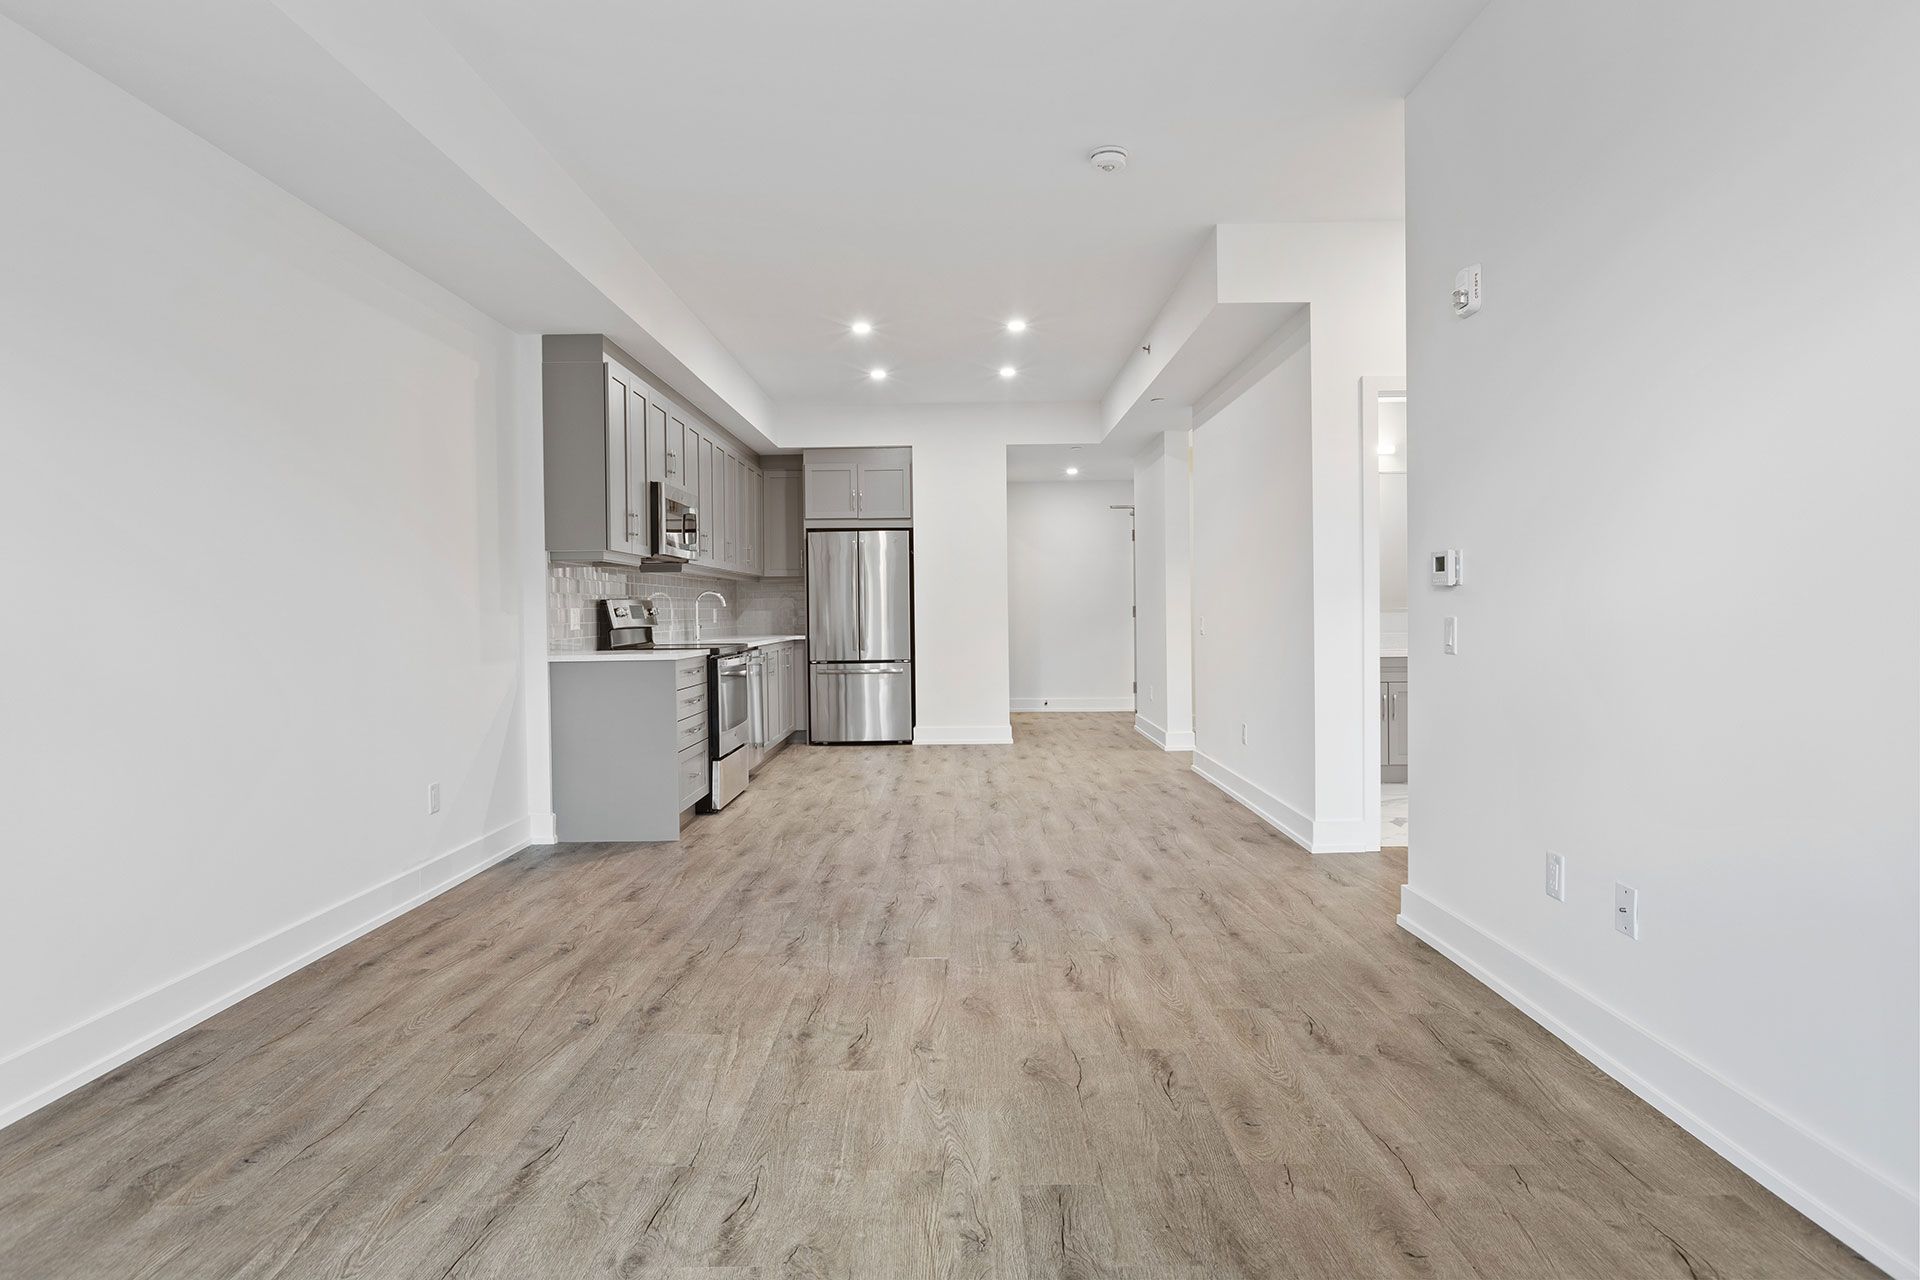
- Living Areas: Pine flooring can create a warm and inviting atmosphere in living rooms, family rooms, and dens.
- Bedrooms: The natural beauty of pine flooring adds a cozy touch to bedrooms, creating a comfortable and relaxing environment.
- Hallways and Entryways: Pine flooring can withstand high traffic areas, making it an ideal choice for hallways and entryways.
- Kitchens and Dining Areas: With proper sealing and maintenance, pine flooring can be used in kitchens and dining areas, adding a rustic touch to these spaces.
Understanding the basics of pine flooring sets the foundation for exploring its various types and installation processes. With this knowledge, you can confidently make decisions regarding the best options for your home and ensure proper maintenance to keep your pine flooring looking stunning for years to come.
Types of Pine Flooring
When it comes to pine flooring, there are several types to consider, each with its own unique characteristics and benefits. In this section, we will explore the different types of pine flooring available, helping you understand their distinct features and choose the right option for your needs.
1. Southern Yellow Pine Flooring
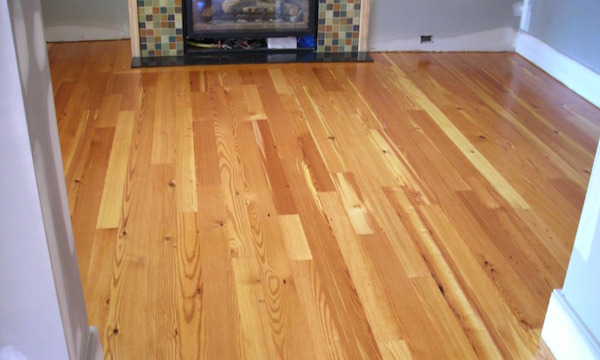
Southern Yellow Pine is one of the most popular types of pine flooring. It is known for its durability and strength, making it suitable for high-traffic areas. This type of pine flooring has a warm, golden color with prominent grain patterns and occasional knots.
2. Eastern White Pine Flooring
Eastern White Pine flooring offers a lighter and more subtle appearance compared to Southern Yellow Pine. It features a pale yellow to light brown color with a straight grain pattern. Eastern White Pine is known for its softness, making it susceptible to dents and scratches. However, if properly maintained, it can provide an elegant and timeless look to any space.
3. Heart Pine Flooring
Heart Pine flooring is made from the heartwood of longleaf pine trees, which yields a dense and durable material. This type of pine flooring is highly sought after for its rich amber color, tight grain patterns, and occasional knots. Heart Pine flooring adds a touch of elegance and sophistication to any room, making it a popular choice for both traditional and contemporary interiors.
4. Reclaimed Pine Flooring
Reclaimed pine flooring is sourced from old buildings, barns, and other structures, giving it a unique and rustic charm. This type of pine flooring often showcases weathered textures, knots, and patina, adding character to any space. Reclaimed pine flooring is not only environmentally friendly but also offers a sense of history and nostalgia.
5. Engineered Pine Flooring
Engineered pine flooring is a versatile option that combines a thin layer of pine wood with layers of plywood or high-density fiberboard (HDF) underneath. This construction makes it more dimensionally stable and less prone to expansion and contraction due to changes in humidity. Engineered pine flooring is available in various finishes and can be installed in areas where solid wood flooring may not be suitable, such as basements.
Understanding the different types of pine flooring allows you to choose the option that aligns with your aesthetic preferences, durability requirements, and budget. Each type offers its own unique beauty and characteristics, ensuring that you can find the perfect pine flooring for your home.
Installation of Pine Flooring
Installing pine flooring requires careful planning and attention to detail. In this section, we will guide you through the installation process, covering everything from preparing the installation area to the tools you’ll need and the step-by-step instructions for a successful installation.
Preparation of the Installation Area
- Acclimation: Before installing pine flooring, it’s important to acclimate the wood to the environment where it will be installed. This involves storing the flooring in the room for a recommended period of time to allow it to adjust to the temperature and humidity levels.
- Subfloor Preparation: Ensure that the subfloor is clean, level, and dry. Remove any existing flooring and repair any damage or irregularities in the subfloor. It is also important to install a vapor barrier if necessary to prevent moisture-related issues.
- Moisture Testing: Conduct moisture testing on both the subfloor and the pine flooring to ensure they are within the acceptable moisture content range. This step is crucial to prevent problems such as warping or cupping in the future.
Tools Required for Installation
- Safety Equipment: Safety goggles, dust mask, and knee pads to protect yourself during the installation process.
- Measuring and Marking Tools: Tape measure, chalk line, and a pencil for accurate measurements and marking guidelines.
- Cutting Tools: Circular saw or miter saw for cutting the pine flooring to the required lengths.
- Installation Tools: Pneumatic or manual nailer, hammer, drill, and screws for securing the flooring to the subfloor.
- Finishing Tools: Sandpaper, wood filler, and a putty knife for sanding and filling any gaps or imperfections in the flooring.
The Installation Process
- Layout Planning: Determine the direction and pattern in which you want to install the pine flooring. Consider the natural light sources and the overall aesthetic of the room.
- Installation Method: Depending on the type of pine flooring you have, you can choose between nail-down, glue-down, or floating installation methods. Follow the manufacturer’s guidelines for your specific flooring type.
- Starting Point: Start the installation from a straight and square wall, leaving an expansion gap along the edges. Use spacers to maintain a consistent gap.
- Installation of the First Row: Install the first row of pine flooring, ensuring it is straight and securely attached to the subfloor.
- Continuation of Installation: Continue installing subsequent rows, using a tapping block and a mallet to ensure tight and seamless joints between the planks.
- Trimming and Finishing: Trim the last row of flooring to fit, ensuring a proper expansion gap. Sand the flooring to smooth out any rough edges and apply a finish of your choice to protect and enhance the appearance of the pine flooring.
By following these installation steps and using the right tools, you can achieve a professional-looking pine flooring installation. Take your time, pay attention to detail, and enjoy the process of transforming your space with beautiful pine flooring.
Pine Flooring Maintenance
To ensure the longevity and beauty of your pine flooring, regular maintenance is essential. In this section, we will provide you with valuable tips and guidelines on how to properly clean and maintain your pine flooring, handle spills and stains, and establish a regular maintenance schedule.
Cleaning Tips for Pine Flooring
- Sweep or Vacuum Regularly: Remove dirt, dust, and debris from the surface of your pine flooring using a soft-bristle broom or a vacuum cleaner with a hardwood floor attachment. This prevents scratches and maintains the overall cleanliness.
- Avoid Excessive Moisture: Pine flooring is sensitive to moisture, so avoid using excessive water or damp mops for cleaning. Instead, use a slightly dampened microfiber mop or cloth to gently clean the surface. Immediately wipe up any spills to prevent water damage.
- Use Recommended Cleaning Products: Use pH-neutral hardwood floor cleaners specifically designed for pine flooring. Avoid using harsh chemicals, ammonia-based cleaners, or wax-based polishes, as they can damage the finish and dull the natural beauty of the wood.
- Protect the Flooring from Furniture: Place felt pads or furniture glides under the legs of furniture to prevent scratches and dents when moving or rearranging items.
How to Handle Spills and Stains
- Act Quickly: Immediately attend to spills to prevent them from penetrating the wood and causing stains. Blot up liquid spills with a clean, dry cloth or paper towel. For sticky spills, gently scrape off the residue using a plastic scraper or credit card.
- Spot Cleaning: For stubborn stains, use a mild hardwood floor cleaner and a soft cloth to gently dab and clean the affected area. Avoid scrubbing vigorously, as it can damage the finish. Always follow the manufacturer’s instructions.
- Dealing with Oil-based Stains: If your pine flooring has oil-based stains, such as grease or food spills, sprinkle baking soda or cornstarch on the stain and let it sit for a few minutes. Then, gently rub the area with a soft cloth and clean with a recommended hardwood floor cleaner.
Regular Maintenance Schedule
- Dust and Sweep: Regularly dust and sweep your pine flooring to remove loose dirt and debris. Aim to do this at least once a week or as needed.
- Mop with Care: Depending on the traffic and level of dirt, mop your pine flooring using a damp mop or microfiber cloth every two weeks or as needed. Ensure the mop or cloth is only slightly damp, not wet.
- Annual Deep Cleaning: Once a year, consider giving your pine flooring a deeper clean using a specialized hardwood floor cleaner and following the manufacturer’s instructions. This helps remove built-up grime and restores the shine of the flooring.
By following these maintenance tips and establishing a regular cleaning routine, you can keep your pine flooring looking its best for years to come. Remember, prevention is key, so take proactive measures to protect your flooring from scratches, spills, and excessive moisture.
Pros and Cons of Pine Flooring
As with any flooring option, pine flooring comes with its own set of advantages and potential drawbacks. In this section, we will explore the pros and cons of choosing pine flooring, helping you make an informed decision based on your specific needs and preferences.
Benefits of Pine Flooring
- Natural Beauty: Pine flooring showcases the warm and inviting beauty of natural wood, with its unique grain patterns, knots, and color variations, adding character and charm to any space.
- Affordability: Compared to hardwood options, pine flooring is generally more affordable, making it a cost-effective choice for homeowners on a budget.
- Versatility: Pine flooring can effortlessly complement various interior styles, from rustic and farmhouse to contemporary and Scandinavian, allowing for versatile design options.
- Easy to Install: With its relatively soft nature, pine flooring is easier to cut and install compared to harder wood options, making it a suitable choice for DIY enthusiasts.
- Renewable and Sustainable: Pine is a fast-growing tree species, making it a renewable resource. Choosing sustainably sourced pine flooring helps promote responsible forestry practices.
Potential Drawbacks to Consider
- Softness and Vulnerability to Scratches: Pine is a softwood, which means it is more susceptible to scratches and dents compared to harder wood species. Care must be taken to prevent furniture marks and avoid dragging heavy objects across the floor.
- Limited Hardness and Durability: While pine flooring can be durable when properly maintained, it is not as hard or resistant to wear as some hardwood options. High-traffic areas may show signs of wear and tear over time.
- Prone to Sunlight and Moisture Damage: Pine flooring is sensitive to sunlight and moisture. Prolonged exposure to direct sunlight can cause fading and discoloration, while excess moisture can lead to warping or cupping if not properly managed.
- Requires Regular Maintenance: Pine flooring requires regular maintenance, including proper cleaning, sealing, and refinishing, to preserve its appearance and protect against potential damage.
By considering the advantages and disadvantages of pine flooring, you can determine whether it aligns with your lifestyle, budget, and aesthetic preferences. While pine flooring offers many benefits, it’s important to be aware of its potential drawbacks and take necessary precautions to maintain its beauty and durability.