Whether you’re looking to transform a single room or your entire home, our NuCore Flooring Installation Guide will be your go-to resource. So, let’s get started and make your NuCore flooring installation a success!
Understanding NuCore Flooring: An Introduction
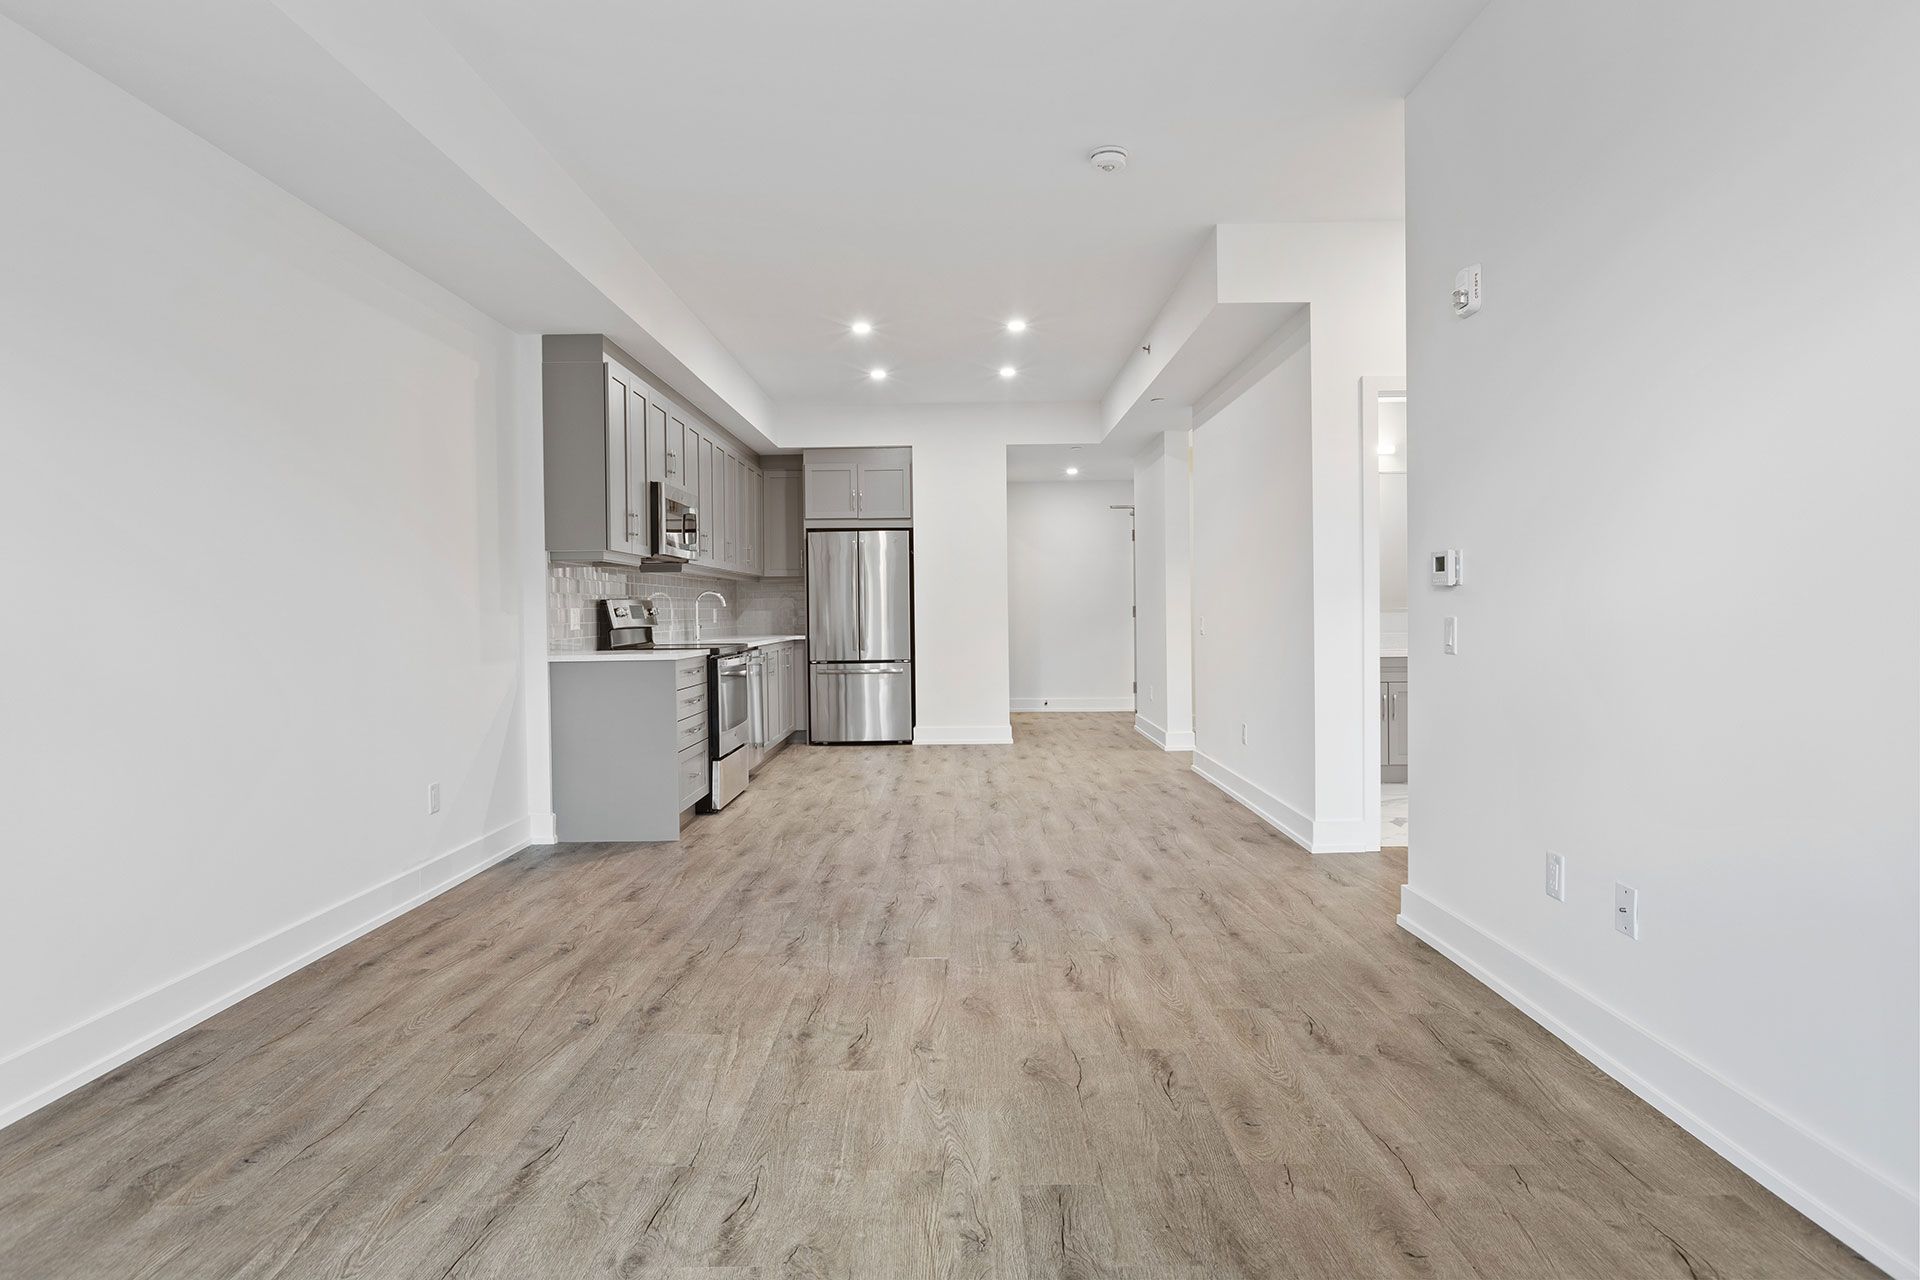
NuCore flooring is a revolutionary type of flooring that combines the beauty of hardwood with the durability of laminate. It is a popular choice for homeowners and commercial spaces alike, thanks to its numerous advantages.
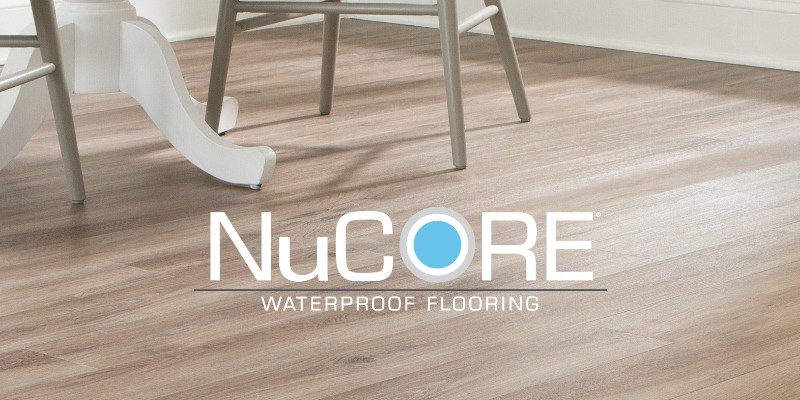
What is NuCore Flooring?
NuCore flooring is a type of luxury vinyl plank (LVP) flooring that mimics the look and feel of real hardwood flooring. It is composed of several layers, including a wear layer, a vinyl layer, a rigid core layer, and a pre-attached underlayment. These layers work together to create a flooring solution that is not only visually appealing but also highly durable and resistant to moisture.
Advantages of NuCore Flooring
- Waterproof: One of the standout features of NuCore flooring is its exceptional waterproof properties. Unlike traditional hardwood flooring, NuCore is impervious to water, making it an ideal choice for areas prone to moisture, such as kitchens, bathrooms, and basements.
- Durability: NuCore flooring is designed to withstand heavy foot traffic and daily wear and tear. Its rigid core layer provides stability, preventing the planks from warping or shifting over time. This makes it a durable flooring option for both residential and commercial applications.
- Easy Installation: NuCore flooring features a click-lock installation system, which allows for a straightforward and hassle-free installation process. With the right tools and a little bit of DIY know-how, you can easily install NuCore flooring yourself, saving time and money on professional installation.
- Variety of Styles: NuCore flooring offers a wide range of styles and finishes to suit any interior design preference. From classic wood grains to modern stone and tile patterns, you can find the perfect NuCore flooring to complement your space.
- Low Maintenance: NuCore flooring requires minimal maintenance compared to other flooring options. It is resistant to stains, scratches, and fading, making it easy to clean and maintain its original beauty for years to come.
Where to Use NuCore Flooring
Due to its waterproof and durable nature, NuCore flooring can be used in various areas of your home or commercial space. Some popular applications include:
- Kitchens and bathrooms
- Basements and laundry rooms
- Entryways and mudrooms
- Living rooms and bedrooms
- Office spaces and retail environments
NuCore flooring is versatile enough to be used in both residential and commercial settings, adding a touch of elegance and practicality to any space.
Cost of NuCore Flooring
The cost of NuCore flooring can vary depending on factors such as the style, size of the space, and additional installation materials. On average, NuCore flooring ranges from $2 to $5 per square foot, excluding installation costs. While it may be slightly more expensive than traditional laminate or vinyl flooring, the benefits and longevity of NuCore make it a worthwhile investment.
Now that we have a better understanding of NuCore flooring and its advantages, let’s move on to the essential tools you’ll need for a successful installation.
Essential Tools for NuCore Flooring Installation
To ensure a smooth and successful NuCore flooring installation, it is essential to have the right tools on hand. Here is a comprehensive list of the tools you will need:
List of Necessary Tools:
- Measuring Tape: A measuring tape is crucial for accurately measuring the dimensions of the room and the NuCore planks.
- Utility Knife: A sharp utility knife is necessary for cutting the NuCore flooring planks to the desired size and shape.
- Straight Edge/Ruler: A straight edge or ruler is used to ensure straight and precise cuts when trimming the NuCore planks.
- Pry Bar: A pry bar or crowbar is useful for removing baseboards or trim before installation and for making any necessary adjustments during the process.
- Miter Saw: A miter saw is recommended for making precise angled cuts, particularly for corners and door frames.
- Jigsaw: A jigsaw is handy for cutting irregular shapes or curves in the NuCore flooring, such as around pipes or vents.
- Circular Saw: A circular saw can be used as an alternative to a miter saw for straight cuts, especially for long, straight sections of the NuCore flooring.
- Rubber Mallet: A rubber mallet is essential for gently tapping the NuCore planks into place without damaging them.
- Tapping Block: A tapping block helps to ensure a tight fit between planks during installation, especially along the edges.
- Pull Bar: A pull bar is used to help connect the last row of NuCore planks to the previous row, ensuring a seamless installation.
- Spacers: Spacers are used to maintain a consistent expansion gap between the NuCore flooring and the walls or other fixed objects.
- Safety Glasses and Ear Protection: Safety glasses and ear protection are necessary to protect your eyes and ears from debris and loud noises during the installation process.
Where to Purchase Tools:
You can find the necessary tools for NuCore flooring installation at various places, including:
- Local hardware stores such as Home Depot, Lowe’s, or Ace Hardware
- Online retailers like Amazon, Flooring Supply Shop, or Tools4Flooring
Be sure to compare prices and read customer reviews when purchasing tools to ensure you are getting the best quality and value for your money.
Safety Guidelines When Using Tools:
Before using any tools, it is crucial to prioritize safety. Here are some general safety guidelines to follow during NuCore flooring installation:
- Always wear safety glasses and ear protection when operating power tools.
- Use caution when handling sharp objects such as utility knives or saws.
- Ensure proper ventilation in the installation area to prevent the buildup of fumes or dust.
- Take breaks as needed to avoid fatigue or strain.
- Keep the work area clean and free of tripping hazards.
By following these safety guidelines and using the right tools, you can ensure a safe and efficient NuCore flooring installation process.
Now that you have the necessary tools, it’s time to move on to the next step: preparing the subfloor and getting it ready for NuCore flooring installation.
Preparation Before NuCore Flooring Installation
Before you begin installing NuCore flooring, proper preparation of the subfloor is essential. This section will guide you through the necessary steps to ensure a smooth and successful installation process.
Cleaning and Preparing the Subfloor:
- Remove Existing Flooring: If there is any existing flooring in the area where you plan to install NuCore flooring, it must be removed first. This includes carpet, vinyl, laminate, or any other type of flooring. Use a pry bar or crowbar to carefully lift and remove the flooring material.
- Inspect the Subfloor: Once the existing flooring is removed, thoroughly inspect the subfloor for any damage or unevenness. Ensure that it is clean, dry, and free from debris. If there are any noticeable imperfections, such as bumps, dips, or cracks, address them before proceeding with the installation.
- Repair and Level the Subfloor: If there are any damaged areas or uneven spots on the subfloor, it is crucial to repair and level them. Fill cracks or holes with a suitable floor patching compound, and sand down any high spots. It is important to have a smooth and level surface to ensure the proper installation of the NuCore flooring.
- Clean the Subfloor: Before installing NuCore flooring, thoroughly clean the subfloor to remove any dust, dirt, or debris. Use a broom, vacuum, or damp mop to ensure a clean surface. This will help the NuCore planks adhere properly and prevent any bumps or irregularities during installation.
Measuring and Mapping the Room:
- Measure the Room: Accurately measure the dimensions of the room where you plan to install the NuCore flooring. Measure the length and width of the room, taking note of any alcoves or irregular areas.
- Calculate Square Footage: Use the measurements to calculate the square footage of the room. This will help you determine the amount of NuCore flooring material you will need to purchase. It is advisable to add around 5-10% to the total square footage to account for any waste or mistakes during the installation process.
- Plan the Layout: Consider the layout and direction of the NuCore planks. You can choose to install them parallel or perpendicular to the longest wall in the room, depending on your preference and the aesthetic you want to achieve. Create a rough sketch or map of the room, indicating the direction of the planks and any important features or obstacles.
Acclimating the NuCore Flooring:
- Unpack and Unroll the NuCore Planks: Once you have purchased the NuCore flooring, carefully unpack and unroll the planks in the room where they will be installed. This allows them to acclimate to the temperature and humidity of the space.
- Leave the Planks to Acclimate: It is recommended to leave the NuCore planks to acclimate for at least 48 hours before installation. This helps minimize the risk of expansion or contraction after installation, ensuring a more stable and long-lasting floor.
By following these preparation steps, you will create an optimal foundation for the NuCore flooring installation. Next, we will dive into the step-by-step process of installing the NuCore flooring, starting with laying the first row.
Step-by-Step NuCore Flooring Installation
Now that you have prepared the subfloor, it’s time to begin the step-by-step installation process for your NuCore flooring. Follow these instructions to achieve a professional-looking result:
Laying the First Row:
- Start with a Straight Wall: Begin by selecting a straight wall in the room to serve as your starting point. This will ensure a straight and aligned installation.
- Measure and Cut Planks: Measure the length of the wall and cut the first NuCore plank to fit, leaving a 1/4-inch expansion gap between the plank and the wall. Use a utility knife or a miter saw to make precise cuts.
- Apply Adhesive (Optional): If you are installing NuCore flooring in an area prone to moisture, it is recommended to apply a thin layer of adhesive to the back of the first row of planks. This will provide extra stability and prevent any movement or shifting.
- Install the First Row: Place the cut plank against the starting wall, ensuring the tongue side faces the center of the room. Use spacers to maintain the proper expansion gap. Connect subsequent planks by angling the tongue into the groove and gently pressing them together. Use a tapping block and rubber mallet to secure the planks in place.
- Trim the Last Plank of the First Row: Measure and cut the last plank of the first row to fit, leaving the 1/4-inch expansion gap. Use a pull bar and tapping block to connect it to the previous plank.
Cutting and Fitting NuCore Planks:
- Measure and Cut Planks for the Second Row and Beyond: Measure the length needed for each plank in the subsequent rows, accounting for the 1/4-inch expansion gap. Cut the planks accordingly, making sure to stagger the end joints by at least 6 inches for a more natural look.
- Connect Planks: Insert the long edge of each plank into the groove of the previous plank at an angle, and then lower it to lock it in place. Use a tapping block and rubber mallet to ensure a tight fit. Repeat this process for each plank in the row.
- Cutting Around Obstacles: When encountering obstacles such as doorways, vents, or pipes, measure and mark the necessary cuts on the NuCore plank. Use a jigsaw or utility knife to make precise cuts, ensuring a snug fit around the obstacle.
Finishing the Installation:
- Complete the Final Rows: Continue installing the NuCore planks row by row, following the same process of connecting and trimming as before. Use spacers to maintain the expansion gap and ensure a consistent installation.
- Install Transition Pieces: If transitioning to a different type of flooring or between rooms, install transition pieces using adhesive or screws as recommended by the manufacturer. This will provide a seamless and professional transition between the NuCore flooring and other surfaces.
- Replace Baseboards or Trim: Once the NuCore flooring installation is complete, reinstall the baseboards or trim that were previously removed. Use a nail gun or adhesive to secure them in place.
Congratulations! You have successfully installed your NuCore flooring. Now, let’s move on to the next section, where we will discuss post-installation care and maintenance to keep your NuCore flooring looking its best.
Post-Installation Care and Maintenance of NuCore Flooring
After successfully installing your NuCore flooring, it’s important to take proper care of it to maintain its beauty and durability. This section will cover post-installation care and maintenance tips to ensure your NuCore flooring lasts for years to come.
Cleaning Your NuCore Floor:
- Regular Sweeping or Vacuuming: Sweep or vacuum your NuCore flooring regularly to remove dust, dirt, and debris. Use a soft-bristle broom or a vacuum cleaner with a brush attachment to prevent scratching the surface.
- Mopping with a Damp Cloth or Mop: For deeper cleaning, dampen a soft cloth or mop with water and a mild, non-abrasive cleaner specifically formulated for vinyl or LVP flooring. Avoid using excessive water, as it can seep into the seams and damage the flooring.
- Avoid Harsh Chemicals or Abrasive Cleaners: Harsh chemicals and abrasive cleaners can damage the protective wear layer of your NuCore flooring. Stick to mild cleaning solutions recommended by the manufacturer.
Preventing Scratches and Damages:
- Use Furniture Pads: Place furniture pads or felt protectors under the legs of chairs, tables, and other furniture to prevent scratches and indentations.
- Use Mats or Rugs: Place mats or rugs at exterior entrances and high-traffic areas to trap dirt and moisture, preventing them from being tracked onto the NuCore flooring.
- Avoid High Heels and Sharp Objects: High heels and sharp objects can cause scratches and dents on the surface of the NuCore flooring. Encourage family members and guests to remove high heels or use protective caps, and be cautious when moving sharp objects across the floor.
- Clean Spills Immediately: Promptly clean up any spills or liquids on the NuCore flooring to prevent staining or damage. Use a soft cloth or paper towel to absorb the liquid and then clean the area with a mild cleaner.
Routine Maintenance Tips:
- Inspect and Repair: Regularly inspect your NuCore flooring for any signs of damage, wear, or loose planks. If you notice any issues, such as loose planks or damaged areas, address them promptly to prevent further damage.
- Protect from Sunlight: Prolonged exposure to direct sunlight can cause fading or discoloration of the NuCore flooring. Consider using blinds, curtains, or UV-protective window film to minimize UV ray exposure.
- Maintain Proper Humidity Levels: NuCore flooring performs best in a stable indoor environment with humidity levels between 35% and 65%. Use a humidifier or dehumidifier to maintain the recommended humidity range.
- Avoid Excessive Moisture: While NuCore flooring is waterproof, excessive moisture can still damage the subfloor or seep into the seams. Wipe up spills immediately and avoid using excessive water during cleaning.
By following these post-installation care and maintenance tips, you can extend the lifespan and beauty of your NuCore flooring.
In conclusion, we have covered everything from understanding NuCore flooring to essential tools, preparation, step-by-step installation, and post-installation care. With this comprehensive NuCore Flooring Installation Guide, you now have the knowledge to successfully install and maintain your NuCore flooring. Enjoy your beautiful and durable new flooring!